Removing individual eyelash extensions at home can be a simple and cost-effective way to maintain your natural lashes. In this article, we will guide you through 10 easy steps to remove individual eyelash extensions at home in 2023.
Step 1: Preparation Is The Key On How To Remove Individual Eyelash Extensions At Home
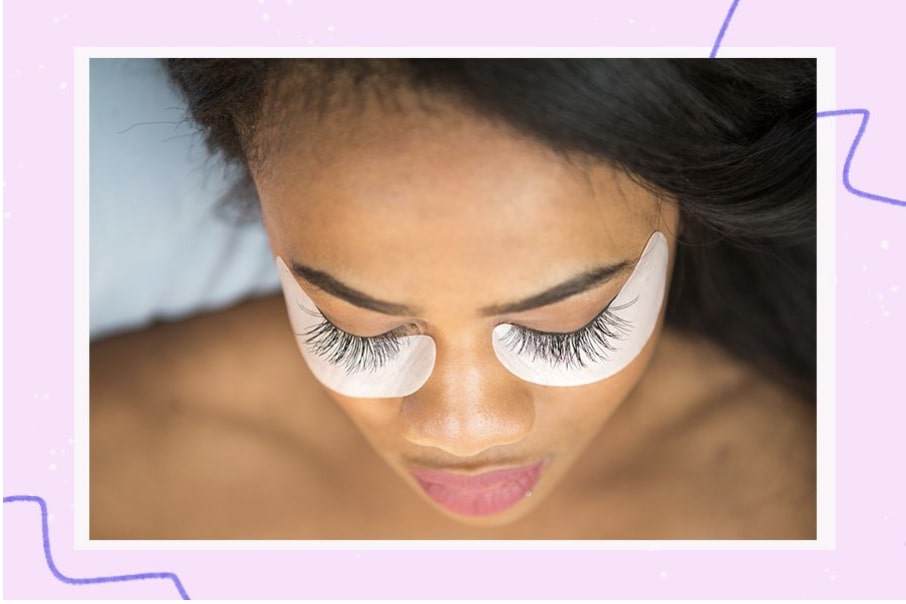
The allure of long, fluttering eyelashes has led to the popularity of individual eyelash extensions. These extensions offer a temporary way to enhance the beauty of our eyes, but there comes a time when they need to be removed. While it’s always advisable to seek a professional’s help, circumstances may arise where removing individual eyelash extensions at home becomes necessary.
Gathering The Arsenal: Materials You Need On How To Remove Individual Eyelash Extensions At Home
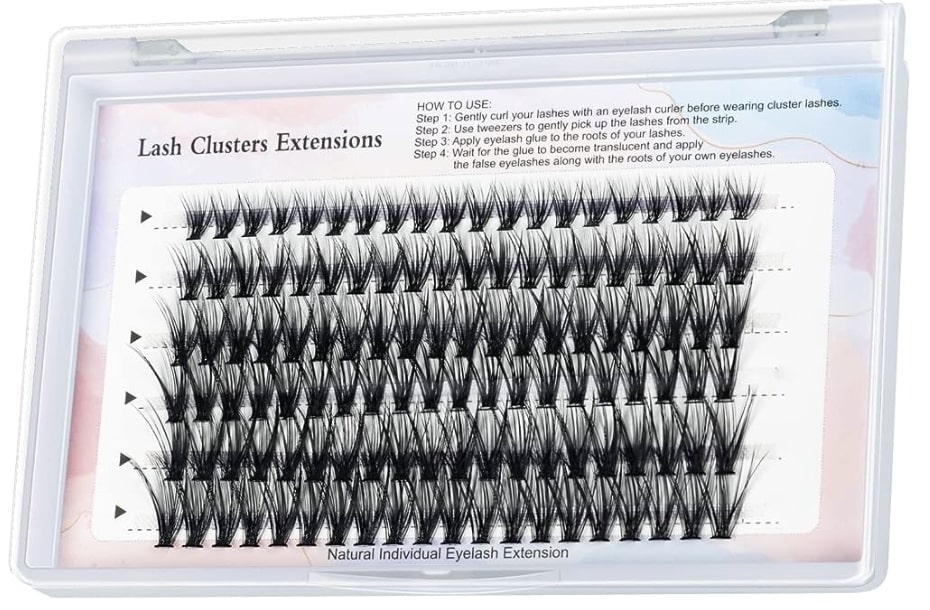
In the realm of personal grooming and beauty, individual eyelash extensions have gained significant popularity. These tiny, synthetic lashes artfully applied to enhance the length and volume of one’s natural lashes have become a staple in many individuals‘ beauty routines. Before you begin the process on how to remove individual eyelash extensions at home, it is important to gather all the necessary tools. You will need:
- Oil-Based Makeup Remover or Coconut Oil: These substances serve as a gentle solvent to break down the adhesive that bonds the extensions to your natural lashes. They also facilitate the removal of any residual makeup.
- Cotton Pads or Swabs: These soft applicators are essential for applying the makeup remover or coconut oil to your lash line. Their soft texture helps avoid any unnecessary friction that might damage your lashes.
- Warm Water: Warm water is a staple in any skincare routine. In this case, it aids in softening the adhesive and facilitating the removal process.
- Mild Facial Cleanser: After removing the extensions, a mild facial cleanser helps cleanse the area around your eyes, removing any leftover oil, adhesive, or debris.
- Bowl of Steaming Water: Steaming your face over a bowl of warm water has a dual purpose. It soothes and relaxes your skin, and it also softens the adhesive, making the extensions easier to remove.
In the realm of how to remove individual eyelash extensions at home, proper preparation is paramount. The collection of materials you assemble for this process is akin to a toolkit, where each item has a specific purpose and contributes to the overall success and safety of the procedure. The careful selection and utilization of these materials ensure that the removal of individual eyelash extensions becomes a seamless and non-invasive process, safeguarding the health and beauty of your natural lashes and the sensitive skin surrounding your eyes.
Prepare Your Workspace On How To Remove Individual Eyelash Extensions At Home
Before you start on how to remove individual eyelash extensions at home, it is important to prepare your workspace. Find a well-lit area with a clean and flat surface. Make sure you have all the necessary tools within reach. This will help ensure a smooth and efficient removal process.
- Find a Well-Lit Area: Choose a location with ample natural light or a bright lamp. This will allow you to see the extensions clearly and avoid any accidental damage to your natural lashes.
- Clean and Flat Surface: Clear off a clean and flat surface, such as a table or countertop. This will provide you with enough space to lay out your tools and work comfortably.
- Have Tools Within Reach: Arrange all the necessary tools within arm’s reach. This will save you time and effort during the removal process, allowing for a more efficient experience.

The process on how to remove individual eyelash extensions at home is not merely a practical task; it’s a mindful ritual that deserves a thoughtfully prepared environment. A clean, organized, and well-lit workspace becomes the canvas upon which you navigate each step with precision and care. By creating an atmosphere of serenity, free from distractions and interruptions, you amplify the impact of the process and contribute to the overall success and safety of eyelash extension removal.
Step 2: Remove Eye Makeup And The Extensions On How To Remove Individual Eyelash Extensions At Home
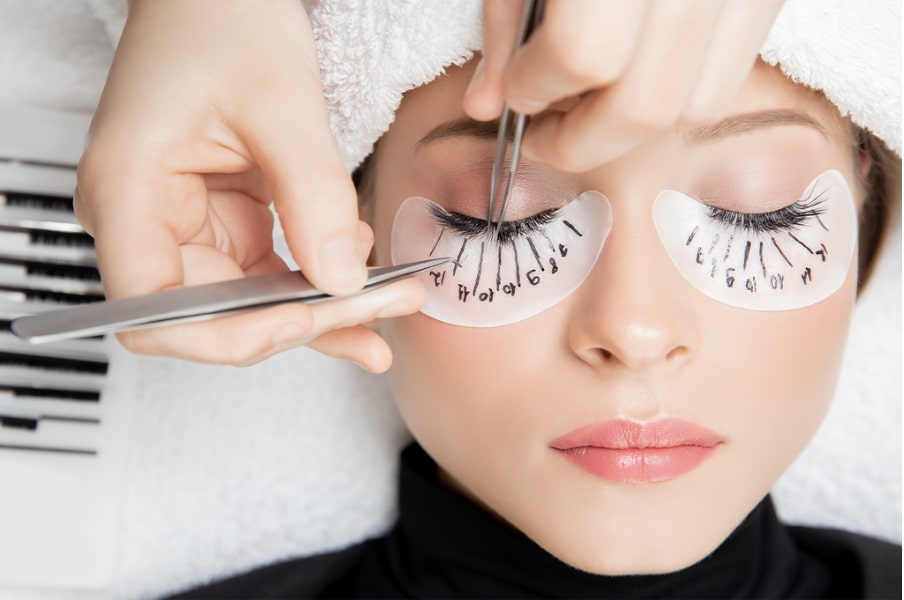
The journey on how to remove individual eyelash extensions at home is a delicate process that requires precision and care. As you embark on this endeavor, step 2 plays a pivotal role: removing both eye makeup and the extensions themselves. This step is not just about cosmetic preparation; it’s a crucial foundation that sets the stage for the subsequent stages of removal.
Remove Eye Makeup On How To Remove Individual Eyelash Extensions At Home
The pursuit of beauty often involves enhancing our features, and individual eyelash extensions have emerged as a popular means to achieve alluring, fluttering lashes. However, as these extensions have their time, there comes a moment when their removal becomes necessary. Before you begin on how to remove individual eyelash extensions at home, it is important to remove any eye makeup. This will help ensure a clean and effective removal process.
- Use an Oil-Based Makeup Remover: Apply a small amount of oil-based makeup remover onto a cotton pad or swab. Gently wipe away any eye makeup, including mascara and eyeliner. This will help prevent any residue from interfering with the removal process.
- Be Gentle: Avoid rubbing or tugging at your lashes while removing eye makeup. Be gentle and take your time to ensure that all traces of makeup are removed without causing any damage to your natural lashes.
In the journey on how to remove individual eyelash extensions at home, the initial step of removing eye makeup holds a special significance. It symbolizes the transition from enhancement to renewal. By meticulously and gently erasing the traces of makeup, you prepare your natural lashes for the upcoming extension removal process.
Remove The Extensions On How To Remove Individual Eyelash Extensions At Home
Now that you have prepared your tools and workspace, it is time to start on how to remove individual eyelash extensions at home.
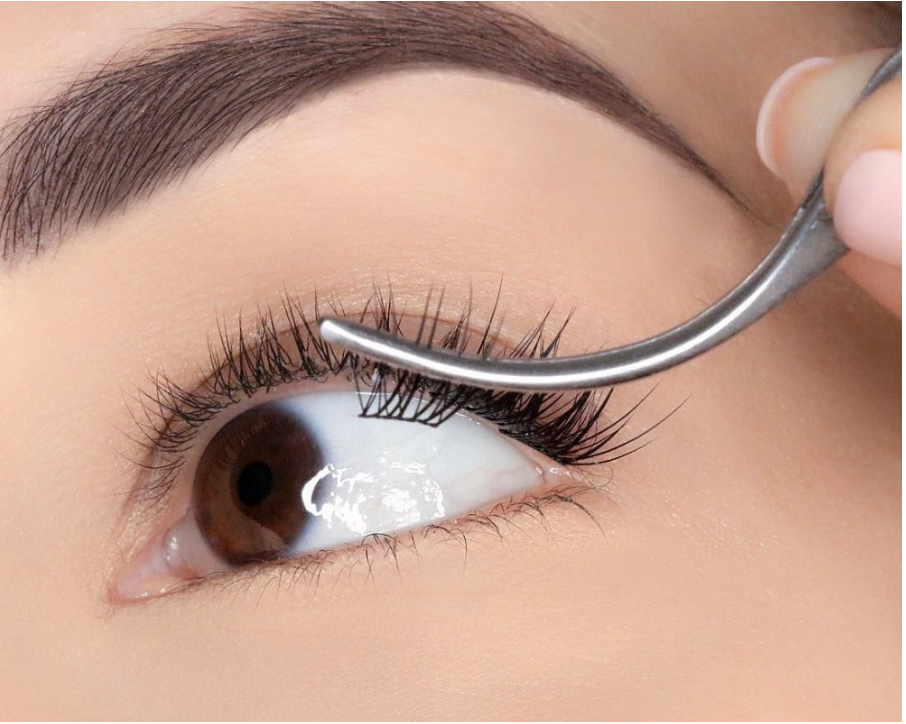
- Begin with the Outer Corners: Start by focusing on the outer corners of your eyes. This is where the extensions are usually the weakest and easiest to remove. Gently grasp the base of the extension with your tweezers and follow the steps mentioned earlier to remove it. Moreover, individual eyelash extensions classic are a versatile choice for those seeking a subtle and elegant enhancement to their natural lashes. To achieve the best results, it’s advisable to have individual eyelash extensions classic applied by a skilled and certified lash technician who can provide personalized recommendations based on your preferences and lash health.
- Work Your Way Inward: Continue removing the extensions from the outer corners and gradually work your way inward. Take your time and be patient to avoid any damage to your natural lashes.
- Take Breaks if Needed: If you feel any discomfort or strain during the removal process, take short breaks to rest your eyes and hands. This will help prevent fatigue and ensure a more comfortable experience.
Removing individual eyelash extensions at home is a journey of care and precision. The process of extension removal is the heart of this journey, requiring your full attention, gentleness, and a methodical approach. By adhering to the techniques mentioned above and maintaining a patient mindset, you can successfully detach the extensions while safeguarding the beauty and health of your natural lashes.
Step 3: Cleanse And Rinse Your Lashes On How To Remove Individual Eyelash Extensions At Home
The process on how to remove individual eyelash extensions at home involves more than just the careful detachment of extensions. After you’ve successfully removed the extensions, the next crucial step is to cleanse and rinse your lashes. This step ensures the removal of any residual adhesive, oil, or debris, creating a clean foundation for your natural lashes to thrive.
Cleanse Your Lashes On How To Remove Individual Eyelash Extensions At Home
After removing all the individual eyelash extensions, it is important to cleanse your lashes to remove any remaining adhesive or residue.
- Be Gentle: Avoid rubbing or pulling at your lashes while cleansing them. Be gentle and use light pressure to ensure a thorough yet safe cleansing process. More than, it’s important to note that traditional mink individual eyelash extensions are made from real mink fur, which raises ethical concerns due to the methods of obtaining the fur. As a result, many people opt for faux mink or synthetic eyelash extensions that mimic the look of mink individual eyelash extensions without using animal products.
- Use an Oil-Based Cleanser: Apply a small amount of oil-based cleanser onto a cotton pad or swab. Gently wipe your lashes from the base to the tips, focusing on the areas where the extensions were attached. This will help remove any leftover adhesive or residue.
Cleansing your lashes after the removal of individual eyelash extensions is a symbolic act of renewal. It’s a gesture that embodies your commitment to self-care and acknowledges the delicate nature of your natural lashes. By gently and diligently cleansing your lashes, you create a clean slate for your lashes to rejuvenate and thrive. As you move through this process, remember that each step is a testament to your intention to nurture your natural beauty.
Rinse Your Lashes On How To Remove Individual Eyelash Extensions At Home
The meticulous process on how to remove individual eyelash extensions at home encompasses a series of careful steps to ensure the health and integrity of your natural lashes. After successfully cleansing your lashes, the subsequent step is to rinse them. This final touch ensures the complete removal of any residue and leaves your lashes refreshed and ready to embrace their natural state. After cleansing your lashes, it is important to rinse them to remove any cleanser or residue.
- Use Lukewarm Water: Splash lukewarm water onto your closed eyes, allowing it to flow over your lashes. This will help wash away any remaining cleanser or residue.
- Pat Dry with a Clean Towel: Gently pat your lashes dry with a clean towel. Avoid rubbing or pulling at your lashes, as this can cause damage or breakage.
Rinsing your lashes after the removal of individual eyelash extensions is a refreshing finale to the careful journey you’ve undertaken. It symbolizes a fresh start and a renewed commitment to the well-being of your natural lashes. By thoroughly and gently rinsing your lashes, you ensure that they are free from any residual traces and ready to flourish in their natural state.
Step 4: Apply A Nourishing Serum On How To Remove Individual Eyelash Extensions At Home
After removing your eyelash extensions, it is important to nourish and strengthen your natural lashes. Applying a nourishing serum can help promote lash growth and prevent any potential damage.
- Choose a High-Quality Serum: Look for a nourishing serum that is specifically formulated for eyelashes. Choose a high-quality product that contains ingredients such as biotin, peptides, and vitamins to promote lash health. Additionally, you can search to purchase colored individual eyelash extensions, that can be a fun and creative way to express yourself through your beauty routine. Remember to prioritize safety, quality, and proper application to achieve the best results. If you’re unsure about the application process, consider consulting a professional lash technician for expert guidance, you can purchase colored individual eyelash extensions exactly.
- Apply the Serum Daily: Follow the instructions provided with the serum and apply it to your lashes daily. Use a clean mascara wand or a cotton swab to gently brush the serum onto your lashes, starting from the base and moving towards the tips.
Rinsing your lashes after the removal of individual eyelash extensions is a refreshing finale to the careful journey you’ve undertaken. It symbolizes a fresh start and a renewed commitment to the well-being of your natural lashes. By thoroughly and gently rinsing your lashes, you ensure that they are free from any residual traces and ready to flourish in their natural state.
Step 5: Give Your Lashes A Break And Schedule Regular Lash Maintenance On How To Remove Individual Eyelash Extensions At Home
In the journey on how to remove individual eyelash extensions at home, the culmination of steps leads to a moment of renewal and restoration. As you complete each step, it’s crucial to remember that the care you provide doesn’t end with the process itself. After successfully removing the extensions and nurturing your natural lashes, there are two final practices that embody a commitment to long-term lash health: giving your lashes a break and scheduling regular lash maintenance.
Give Your Lashes A Break On How To Remove Individual Eyelash Extensions At Home
After removing your eyelash extensions, it is important to give your natural lashes a break from any additional stress or weight.
- Avoid Using Mascara or False Lashes: Avoid applying mascara or using false lashes for at least a few weeks after removing your extensions. This will allow your natural lashes to recover and regain their strength.
- Avoid Rubbing or Pulling at Your Lashes: Be gentle with your lashes and avoid rubbing or pulling at them. This can cause damage or breakage, hindering the regrowth process.
The act of giving your lashes a break is a profound gesture of self-care and reverence for your natural beauty. As you let your lashes flourish without extensions, you honor their strength and potential. This moment of rest not only benefits your lashes but also nourishes your sense of self-esteem and authenticity.
Schedule Regular Lash Maintenance On How To Remove Individual Eyelash Extensions At Home
To keep your natural lashes healthy and strong, it is important to schedule regular lash maintenance appointments.
- Visit a Professional Lash Technician: Find a reputable lash technician who can provide you with regular maintenance services, such as lash lifts or lash tints. These treatments can help enhance the appearance of your natural lashes and promote their overall health. With professional technician, you can try to make DIY eyelash extensions. Remember that creating at home individual eyelash extensions can be challenging, and the risk of damaging your natural lashes is present. If you’re uncertain or uncomfortable, it’s advisable to consult with a professional lash technician who has experience and training about at home individual eyelash extensions application.
- Follow a Proper Lash Care Routine: In addition to professional maintenance, follow a proper lash care routine at home. This may include cleansing your lashes daily, avoiding harsh makeup removers, and using nourishing serums or oils.
The journey on how to remove individual eyelash extensions at home is not a singular event but a lifelong journey of nurturing. Regular lash maintenance is a practice that extends this care, allowing you to sustain the strength, health, and allure of your natural lashes. Embrace this commitment to consistency, knowing that it’s a reflection of your dedication to honoring and enhancing your inherent beauty.
Conclusion
By following these easy steps, you can safely and effectively learn how to remove individual eyelash extensions at home in 2023. Remember to be patient, gentle, and take breaks if needed. Take care of your natural lashes by following a proper lash care routine and scheduling regular maintenance appointments. If you are unsure or encounter any difficulties, consult a professional lash technician for assistance. Enjoy your beautiful, healthy lashes!
Napsat komentář